I love colorful designs and that prompted me to do a rainbow design, and by the time I finished my first, I had thought of a few other interpretations. So these are all rainbow type designs done in different ways.
This is the classic rainbow, diagonal across he entire nail. When I say classic, I mean that I used all the right(as close as I had) colors and did them in the standard order. (ROYGBIV-Red, Orange, Yellow, Green, Blue, Indigo, Violet)
I like this one very much. I had thought about separating the colors with thin black lines but I also like to see the colors just overlap each other.
The next one was almost the same as the first, except I went horizontally across the nail with all the colors. I used different tints of most colors, but kept the same type of layout, just kept it going across the nail
This is one that I think is also perfect for St. Patrick's Day, which is right around the corner, but that isn't what I had in mind when doing it. I did a small pot of gold on the left side of the nail. I used gold polish to fill the pot with the gold coins :-) Then I used bright colors and did rainbow streaks from the pot of gold stretching to the right side and top of the nail. I used pink instead of any purples so it would stand out a bit more on the end of the rainbow.
Three different rainbow styles? Do you have a favorite? I think I like the diagonal one the best but all are bright and colorful! Thanks for reading, hope you enjoyed and please leave any comments or questions below! :-)
Showing posts with label nail designs. Show all posts
Crazy Hearts/Valentine's Day Design
A funky Valentine's Day design with all the "romantic" colors. I am running out of Valentine's Day designs, so I am not sure how many more I will have before the day is upon us but I am working on a few designs that are not holiday or special occasion. Anyway, enough of my rambling and onto the tutorial.
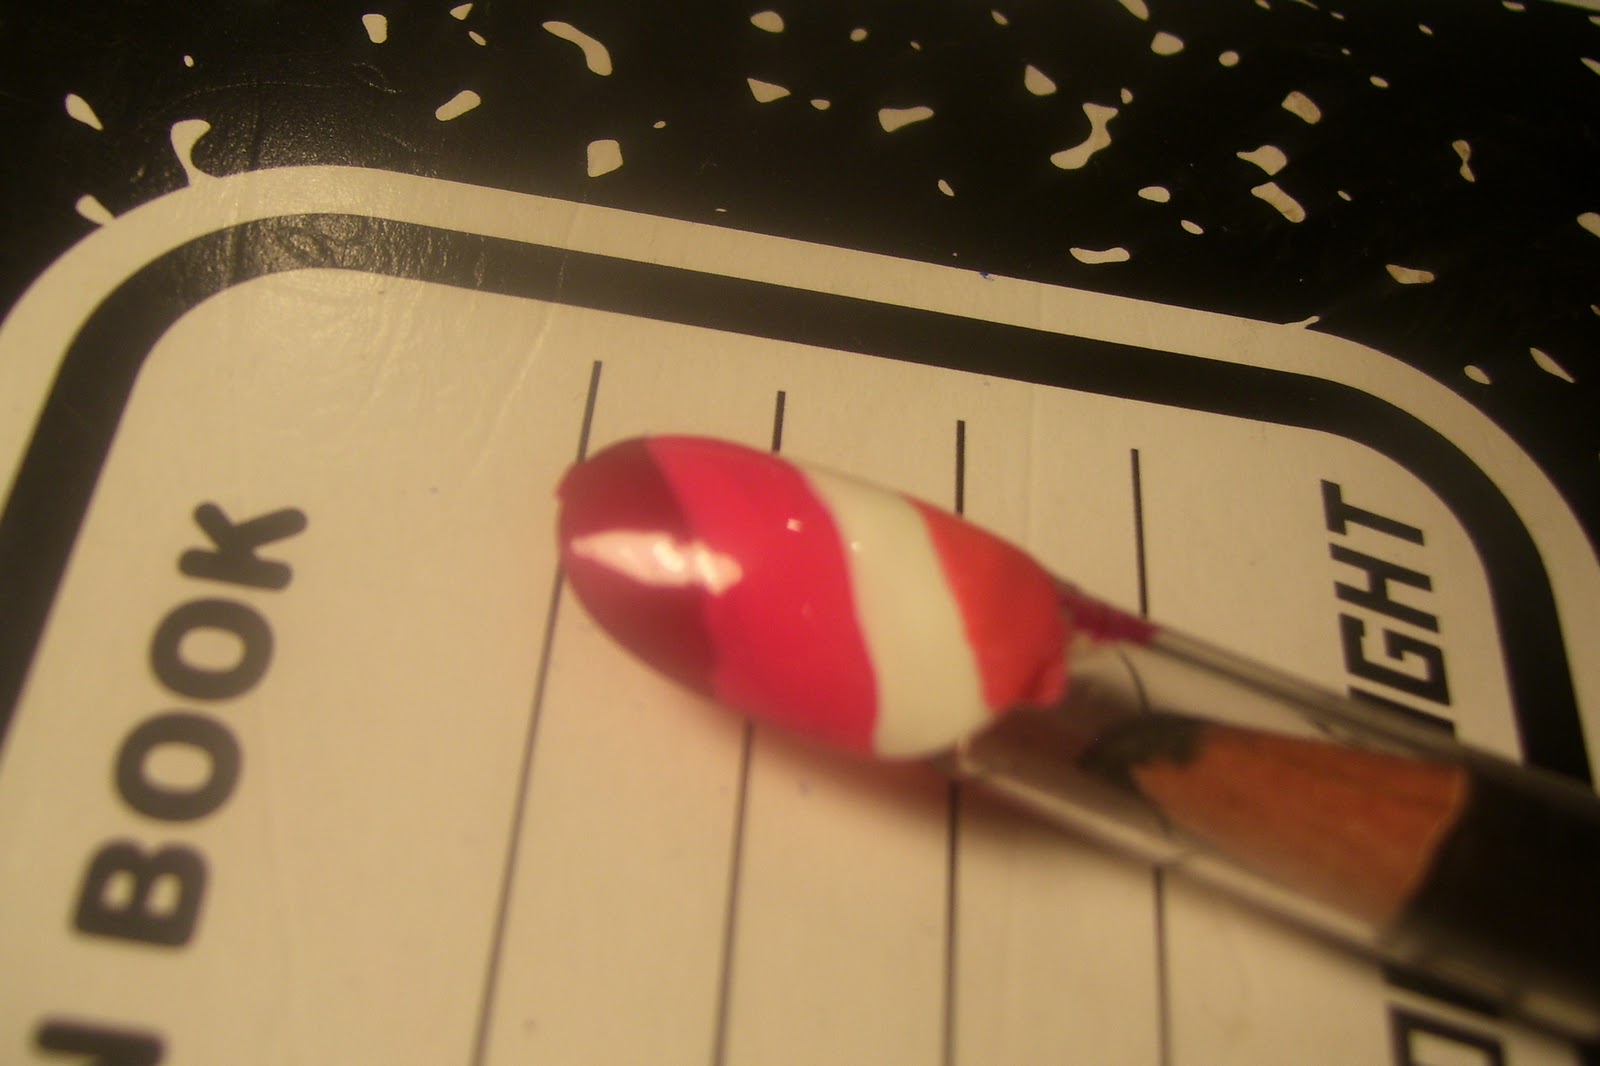
I didn't take pictures in between putting on each stripe but that's what I did. I picked four Valentine's type colors. I chose China Glaze-Bing Cherry(dark & shimmery red color), Sally Hansen- Xtreme Wear-Fuchsia Power(a bright pink), China Glaze- White Out(a bright white), and China Glaze- I Wanna Lei Ya(a more subtle and soft pink). I did a diagonal stripe of each color along the nail. I made them as even as I could but they aren't even at all, lol.
After the colors were all applied, I used Kiss nail paint (Black) and separated each color with a thin black line.
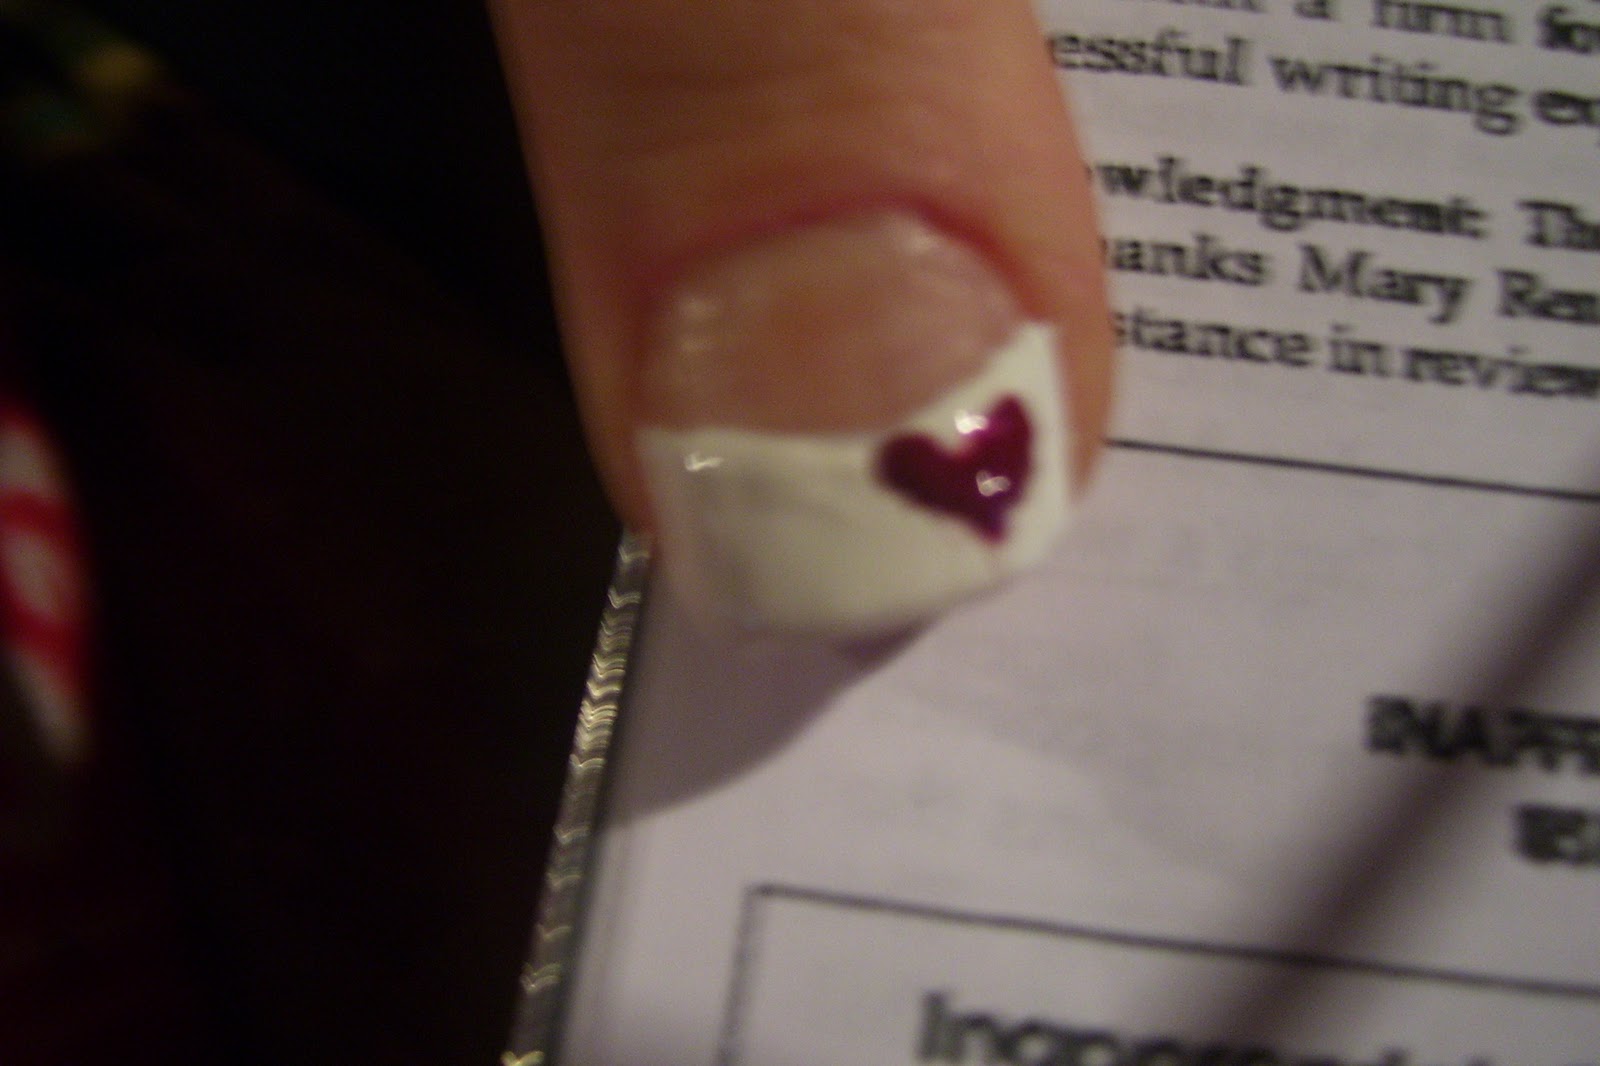
I used the same colors and created hearts. Starting with the bottom of the nail, what would be the cuticle area, I made a heart in the lighter pink area. I decided to use the same colors but go the other way with the pattern. So for the base colors, I went from cuticle to tip with light pink, then white, then bright pink, then dark red. For the hearts, I did the opposite. So the first heart was dark red, as shown in the pic. I titled the heart toward the left a bit.
The next heart was the bright pink. I went the opposite way with this heart and tilted it to the right
Then the white heart...which I then went opposite of the one before it again and made it tilt left, like the first heart did.
And finally the softer pink on the dark red, which tilted to the right.
This was the finally product. This was a design that I was creating it as I painted but I was actually quite happy with it.
Not as even as I would like but sometimes it nice to see things aren't exactly perfect. I don't know... what does everyone else think? Is anyone painting their nails special for Valentine's Day? I know I will but I still haven't settled on a design! Well thanks for reading, I hope you enjoyed this tutorial and I encourage anyone to give this a try. Very easy and very cute!!!
I didn't take pictures in between putting on each stripe but that's what I did. I picked four Valentine's type colors. I chose China Glaze-Bing Cherry(dark & shimmery red color), Sally Hansen- Xtreme Wear-Fuchsia Power(a bright pink), China Glaze- White Out(a bright white), and China Glaze- I Wanna Lei Ya(a more subtle and soft pink). I did a diagonal stripe of each color along the nail. I made them as even as I could but they aren't even at all, lol.
After the colors were all applied, I used Kiss nail paint (Black) and separated each color with a thin black line.
I used the same colors and created hearts. Starting with the bottom of the nail, what would be the cuticle area, I made a heart in the lighter pink area. I decided to use the same colors but go the other way with the pattern. So for the base colors, I went from cuticle to tip with light pink, then white, then bright pink, then dark red. For the hearts, I did the opposite. So the first heart was dark red, as shown in the pic. I titled the heart toward the left a bit.
The next heart was the bright pink. I went the opposite way with this heart and tilted it to the right
Then the white heart...which I then went opposite of the one before it again and made it tilt left, like the first heart did.
And finally the softer pink on the dark red, which tilted to the right.
This was the finally product. This was a design that I was creating it as I painted but I was actually quite happy with it.
Not as even as I would like but sometimes it nice to see things aren't exactly perfect. I don't know... what does everyone else think? Is anyone painting their nails special for Valentine's Day? I know I will but I still haven't settled on a design! Well thanks for reading, I hope you enjoyed this tutorial and I encourage anyone to give this a try. Very easy and very cute!!!
Request Filled- Water Lilies by Claude Monet
This was definitely a hard challenge and I know I can do better with more practice(and more colors) but this is what I came up with as my interpretation of 'Water Lilies' by Claude Monet as a nail design. I gave different angles the best I could so can see. The pics are kind of blurry, but I am saving for a new camera! Hope this is kind of what you were looking for, John and per your request, came this design. I hope you like it and I will continue practicing this one to make it better and nicer! Thanks for reading!
Labels:
flower,
nail art,
nail designs
Short Pink Fishnet Nails
I didn't realize how terrible my lighting was so I am sorry the first two pictures aren't so good. I did a tutorial on the black and pink fishnet design and decided to do it on my natural nails. My natural nails are kind of short ,because lately I have been doing a lot of fake and acrylic nails so I decided to give my nails a rest from all the adhesives. I cleaned them up and let them breathe for like a day then did this design. Again, my natural nails are kind of short, so this shows that this design can work for any nail length.
So this is currently what my nails are sporting...what design are you currently showing off? I may redo them over the next few days (I love painting them and trying to find new designs!) Hope you enjoyed reading, and please leave comments or questions below! Thanks for stopping by!
Labels:
black and pink,
nail art,
nail designs,
simple
Practice Flowers
I decided to practice doing flowers. I didn't have any type pf design going here, just practicing. I used a black base coat because I knew I wanted to do bright colored flowers. I think the large white flower with pink came out nice. On top of the large white flower, I did a pink rose and off to the right side, I did a purple flower accented with a little white accent. The purple was a deeper tint, so it may be a little harder to see against the black.
Not too bad for some practice right? Any ideas for more flowers or other designs? I would love to hear or see other ideas or interpretations. Hope you enjoyed and feel free to leave questions or comments below! Thanks for reading!
Labels:
black and pink,
flower,
nail art,
nail designs
Dotted Hearts for Valentine's Day Nails
Anther Valentine's Day design. There is really so many possibilities for Valentine's Day. I tend to use the colors most associated with the day, such as different reds, pinks and whites. But a variety of other colors works too. Designs like this just scream Valentine's Day to me because the colors and hearts together remind me of the day. I started by painting my tips, as shown in the above and below pictures. I did opposites. I painted my thumb, middle and pinkie fingers on my left hand with white tips and did red tips for the pointer and ring fingers. On the right hand, I did the opposite, so my thumb, middle and pinkie are red tips and my pointer and ring fingers are white tips.
The White I used was- China Glaze- White Out
The Red Polish I used was- China Glaze- Bing Cherry
The picture above is my left hand, I am a righty, so I did my left first and it usually comes out better. I drew on hearts using a dotting tool. I drew red hearts on the white tips and white hearts on the red tips. I used the same colors I used for the tips.
Then I used my dotting tool and made four little dots with the same red polish curving away from the heart, as shown in the picture below.
I did the same with the white polish, and added dots to every heart.
Here is a closer shot of my left hand, showing both the red tip and white tips.
The picture above shows the total design and the picture below is my right hand. Not as clean or as good. I am still practicing to get better with my left hand but matches enough.
Hope you Like these nails! I think they are very simple, elegant, and pretty. They are for more than Valentine's Day but perfect for it too. Thanks for reading and feel free to comment or try this design yourself!
Just a Bit Fruity
I did a few fruit nails. Very simple designs. I think the cherries came out looking the best of the three. It almost looks like a stencil, and I did all 3 freehand.
For the bananas, I started with the center banana. I drew the outline in black. Once the center one was in place I outlined two more bananas in black, one on each side of the center banana. Then, I drew a black line down the center of the top banana and the middle banana, to add depth. Once the black dried a little, I colored in the black outlines with yellow, making sure ot to cover my center black lines in the two bananas.
The cherries were easy and came out nice. First, I did a small but complete circle in red toward the tip of the nail and toward the middle. Then I did an almost full circle in red next to the first red circle. Then I drew some green lines for the stems and made a little leaf and I was done. Very clean and cute.
The strawberry is a bit rough. I started with the black outline, but it was too thick of an outline. Instead of fixing it, I just continued. I filled in the outline with a red colored polish and then added little red oval shaped dots n top of the red, to simulate the seeds. hen I used green to do the green top. I think I could have done better with this but it wasn't too bad I guess. So that's it for the fruit for now. Thanks for reading, hope you enjoyed and please comment!
For the bananas, I started with the center banana. I drew the outline in black. Once the center one was in place I outlined two more bananas in black, one on each side of the center banana. Then, I drew a black line down the center of the top banana and the middle banana, to add depth. Once the black dried a little, I colored in the black outlines with yellow, making sure ot to cover my center black lines in the two bananas.
The cherries were easy and came out nice. First, I did a small but complete circle in red toward the tip of the nail and toward the middle. Then I did an almost full circle in red next to the first red circle. Then I drew some green lines for the stems and made a little leaf and I was done. Very clean and cute.
The strawberry is a bit rough. I started with the black outline, but it was too thick of an outline. Instead of fixing it, I just continued. I filled in the outline with a red colored polish and then added little red oval shaped dots n top of the red, to simulate the seeds. hen I used green to do the green top. I think I could have done better with this but it wasn't too bad I guess. So that's it for the fruit for now. Thanks for reading, hope you enjoyed and please comment!
Acrylic French Tips with Rhinestone Flowers
So, last night I decided to give myself a full-on set of acrylic french tips. I don't really mess with acrylics too much and this was first time doing it full-on. I was actually pretty happy with the results. For a first-timer with the acrylic, I think I did well. Once the french tips were done, They looked good....but plain. So I wanted to add a little something but I didn't have a whole lot of time so painting was out of the question. I decided to go with some good old rhinestones. Quick and easy to apply and look very nice. I decided to do a flower of rhinestones on my thumb and ring finger and do a smaller heart with red dots on the pointer, middle, and pinkie fingers. First, I started with the flowers. I used 6 red oval rhinestones(teardrops or diamond could work too) for the petals and a silver circle rhinestone for the middle. I added 4 pink rhinestones coming away from the flower, curving toward the cuticle a little. I used another pink and put it at the tip of the nail, close to the middle. The thumb nail is pictured below.

For the other fingers, I used a pink heart rhinestone, which placed off to the side, very close to the edge of the tip and added 4 little red dots(not rhinestones but tiny decals) starting at the heart and curving upward, as seen in the picture to the left.
Here a few extra pics of the design. Very quick and easy once the acrylic once finished. I had to do this fast and was able to make it look pretty good. Please comment, or respond with an interpretation. I would love to see some other rhinestone designs or other french manicure ideas. This could be for Valentine's Day too, I suppose but it wasn't really what I had in mind while doing it. Anyway, thanks for reading, hope you liked it and give it a try!
For the other fingers, I used a pink heart rhinestone, which placed off to the side, very close to the edge of the tip and added 4 little red dots(not rhinestones but tiny decals) starting at the heart and curving upward, as seen in the picture to the left.
Here a few extra pics of the design. Very quick and easy once the acrylic once finished. I had to do this fast and was able to make it look pretty good. Please comment, or respond with an interpretation. I would love to see some other rhinestone designs or other french manicure ideas. This could be for Valentine's Day too, I suppose but it wasn't really what I had in mind while doing it. Anyway, thanks for reading, hope you liked it and give it a try!
Labels:
flower,
french tips,
nail art,
nail designs,
rhinestones
Subscribe to:
Posts (Atom)